How to Install Atlas VPN: Download, Login, and Setup
Solutions Review explains how to set up and install Atlas VPN, including how to download and login to the tool.
With an increasing number of cyber-attacks on high-profile companies and growing concerns over data privacy, many users are turning to virtual private networks (VPNs) to keep them safe when they’re using the Internet. A VPN protects the online traffic of its customers by masking IP addresses, encrypting network data transfers, and preventing external forces from observing user activity. Many VPNs also allow users to access censored or unavailable content or enable high-speed video streaming from any location.
There are many VPN solutions on the market, but today, we’ll be focusing on Atlas VPN. Launched in 2020, Atlas VPN is a relatively new service offering 700+ servers across 27 countries, including the U.S. and most of Europe. The network is protected by military-grade AES-256 bit encryption with SSL/TLS for data transfers. Atlas is offsetting its lack of established reputation by offering steep discounts on its service, with a three-year plan currently available for an industry-best price of $1.39/month — a plan that is also fully refundable for 30 days. If that’s still too much of a commitment, Atlas VPN even has a free version with limited servers and reduced speed.
Learn how to sign up for, download, install, and login to Atlas VPN below.
Step 1: Sign Up for Atlas VPN
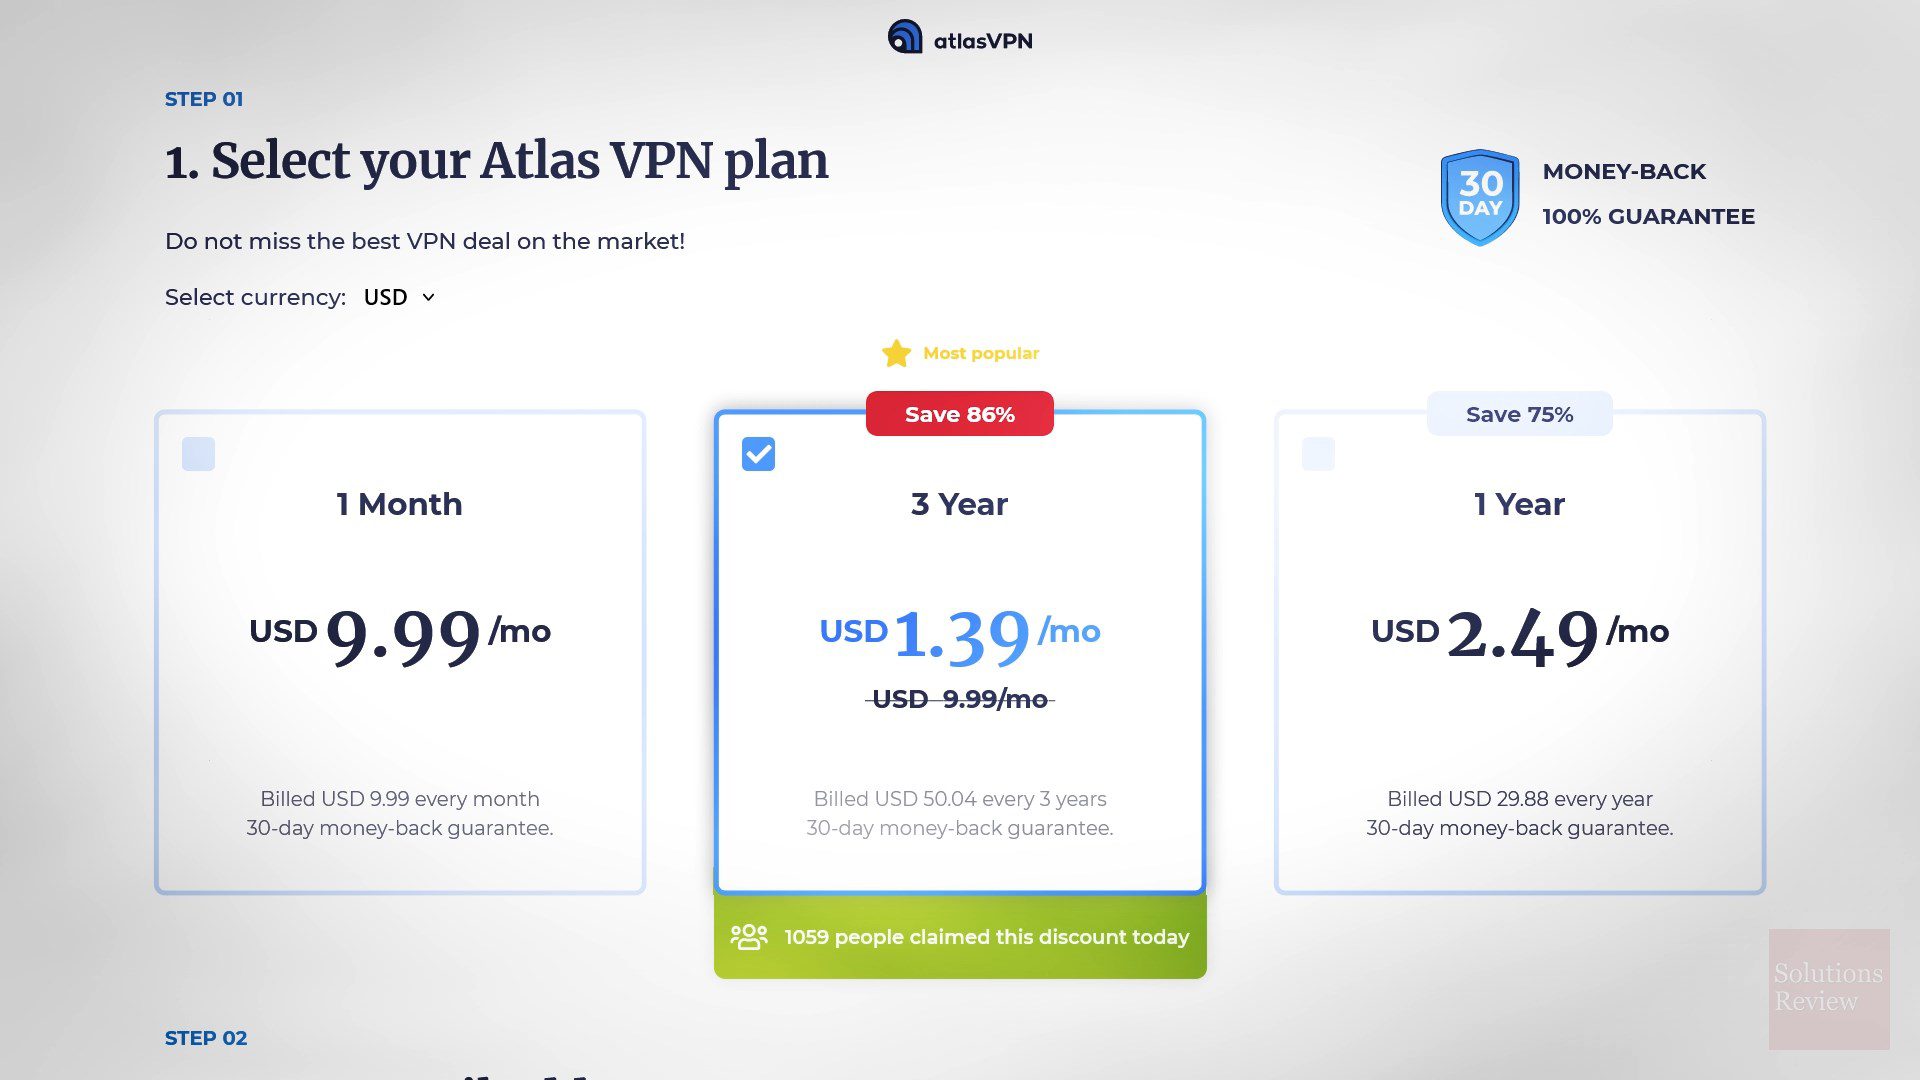
Obviously, the first step in setting Atlas VPN up is signing up for the service. If you sign up for Atlas VPN via our affiliate link, you can get an exclusive offer on this VPN software. You can sign up for a three-year plan for just $1.39 a month, with Atlas VPN also offering a yearly plan for $2.49 a month or a monthly plan for $9.99. Pick whichever plan works best for you! Choose your desired payment plan, enter your payment information, and create an account.
Step 2: Download the Software
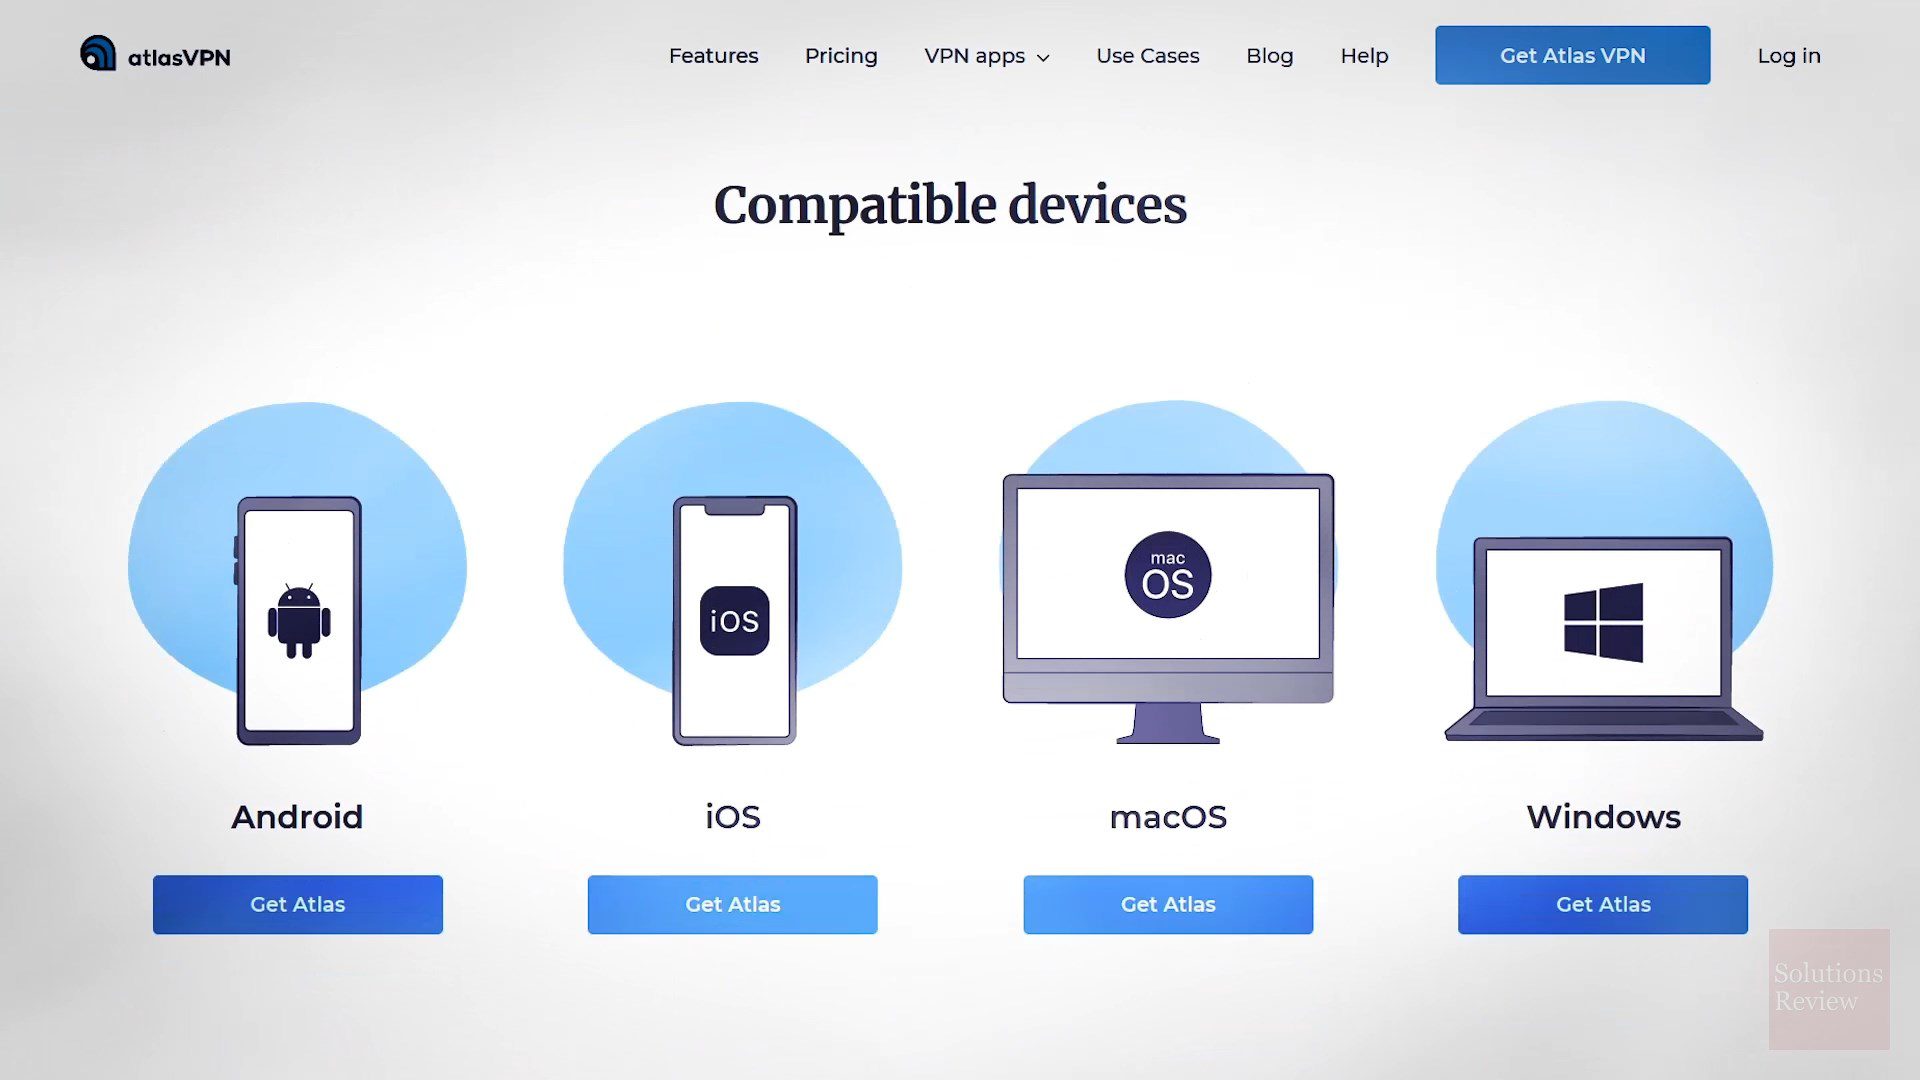
Once you’ve signed up for Atlas VPN, it’s time to download the software. The vendor offers numerous versions of its VPN solution that are specifically tailored to devices and operating systems. After you’ve created your account and your order has been processed, select the version of Atlas VPN that fits your operating system — whether it be a Windows, macOS, Android, or iOS device. Then, you can download the installer that’s designed for your system.
Step 3: Install the Program Onto Your Device
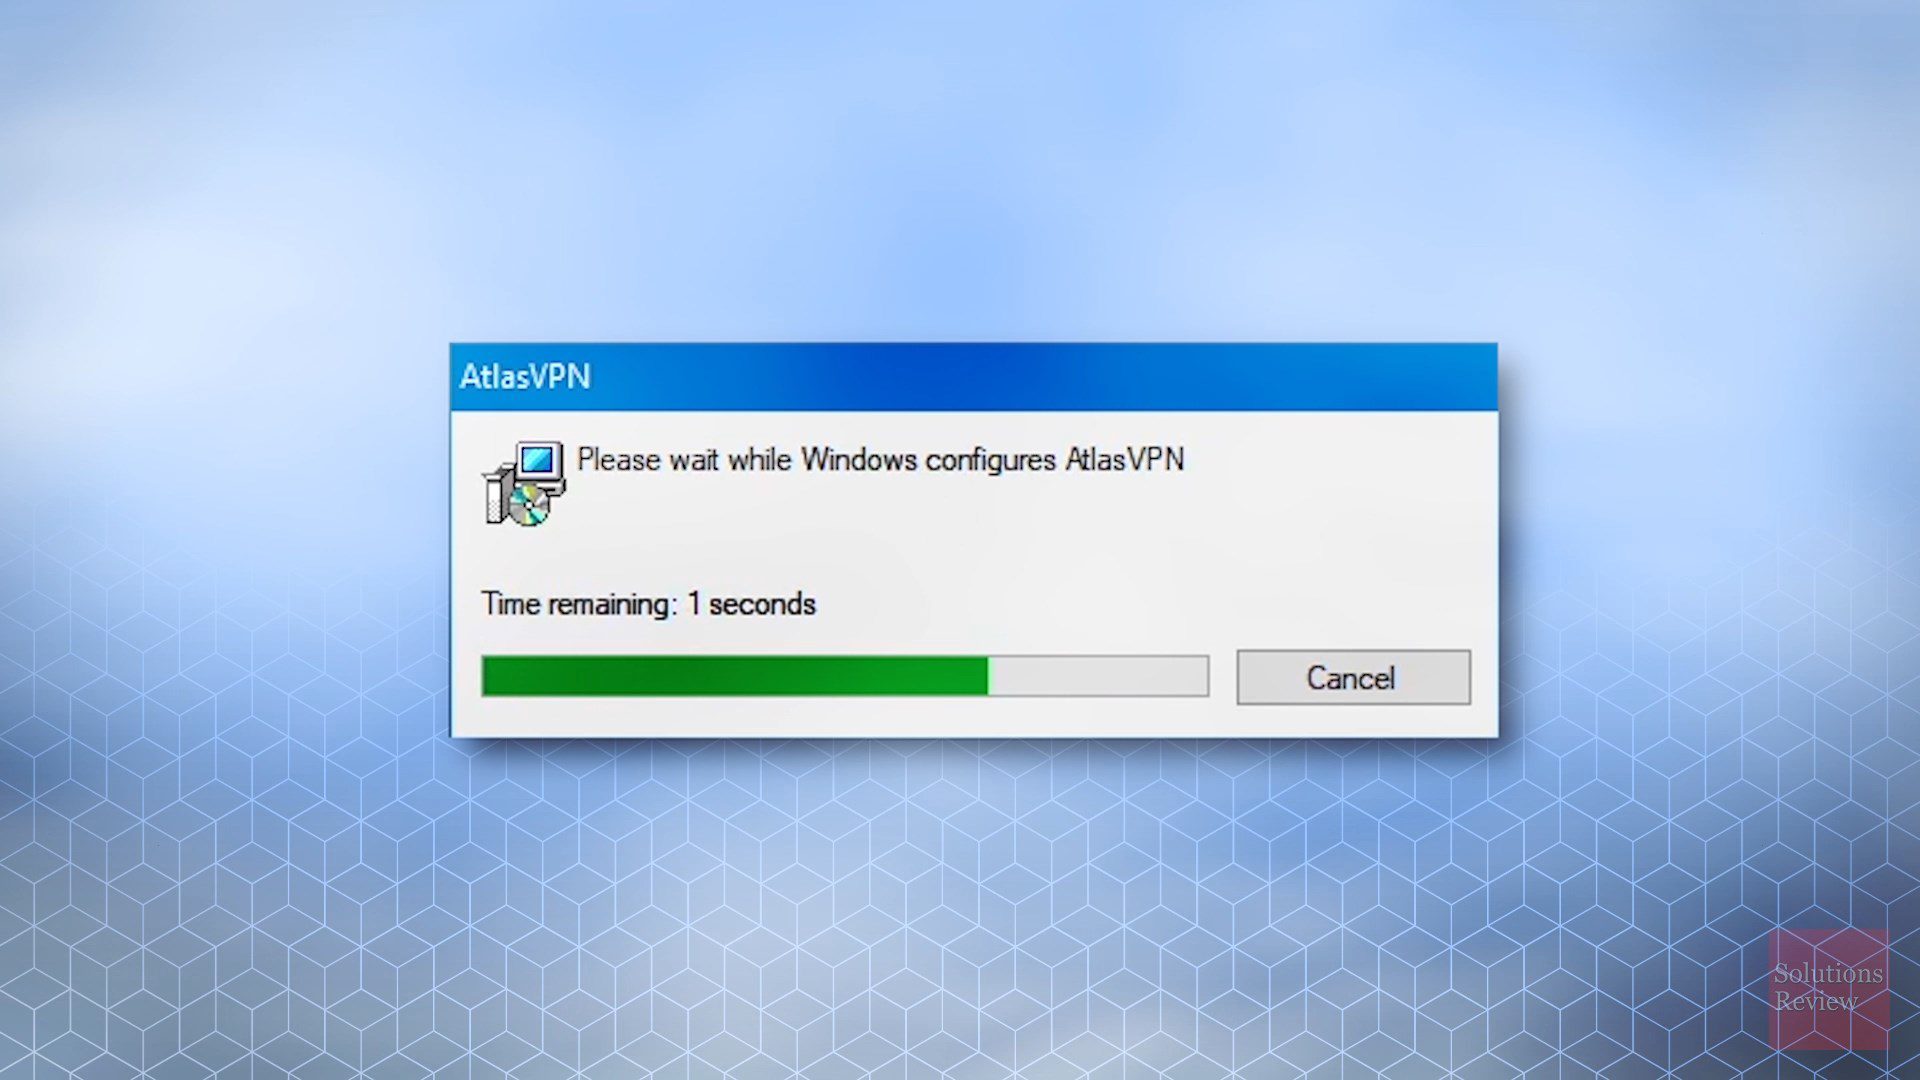
After you’ve downloaded the installer, navigate to where you downloaded it and run the executable file. From here, it’s a simple matter of following the on-screen prompts to complete the installation process. Atlas VPN’s installer is simple and easy to understand, and after the software has finished installing everything, you’re nearly ready to begin browsing securely.
Step 4: Open the Software and Login to Your Atlas VPN Account
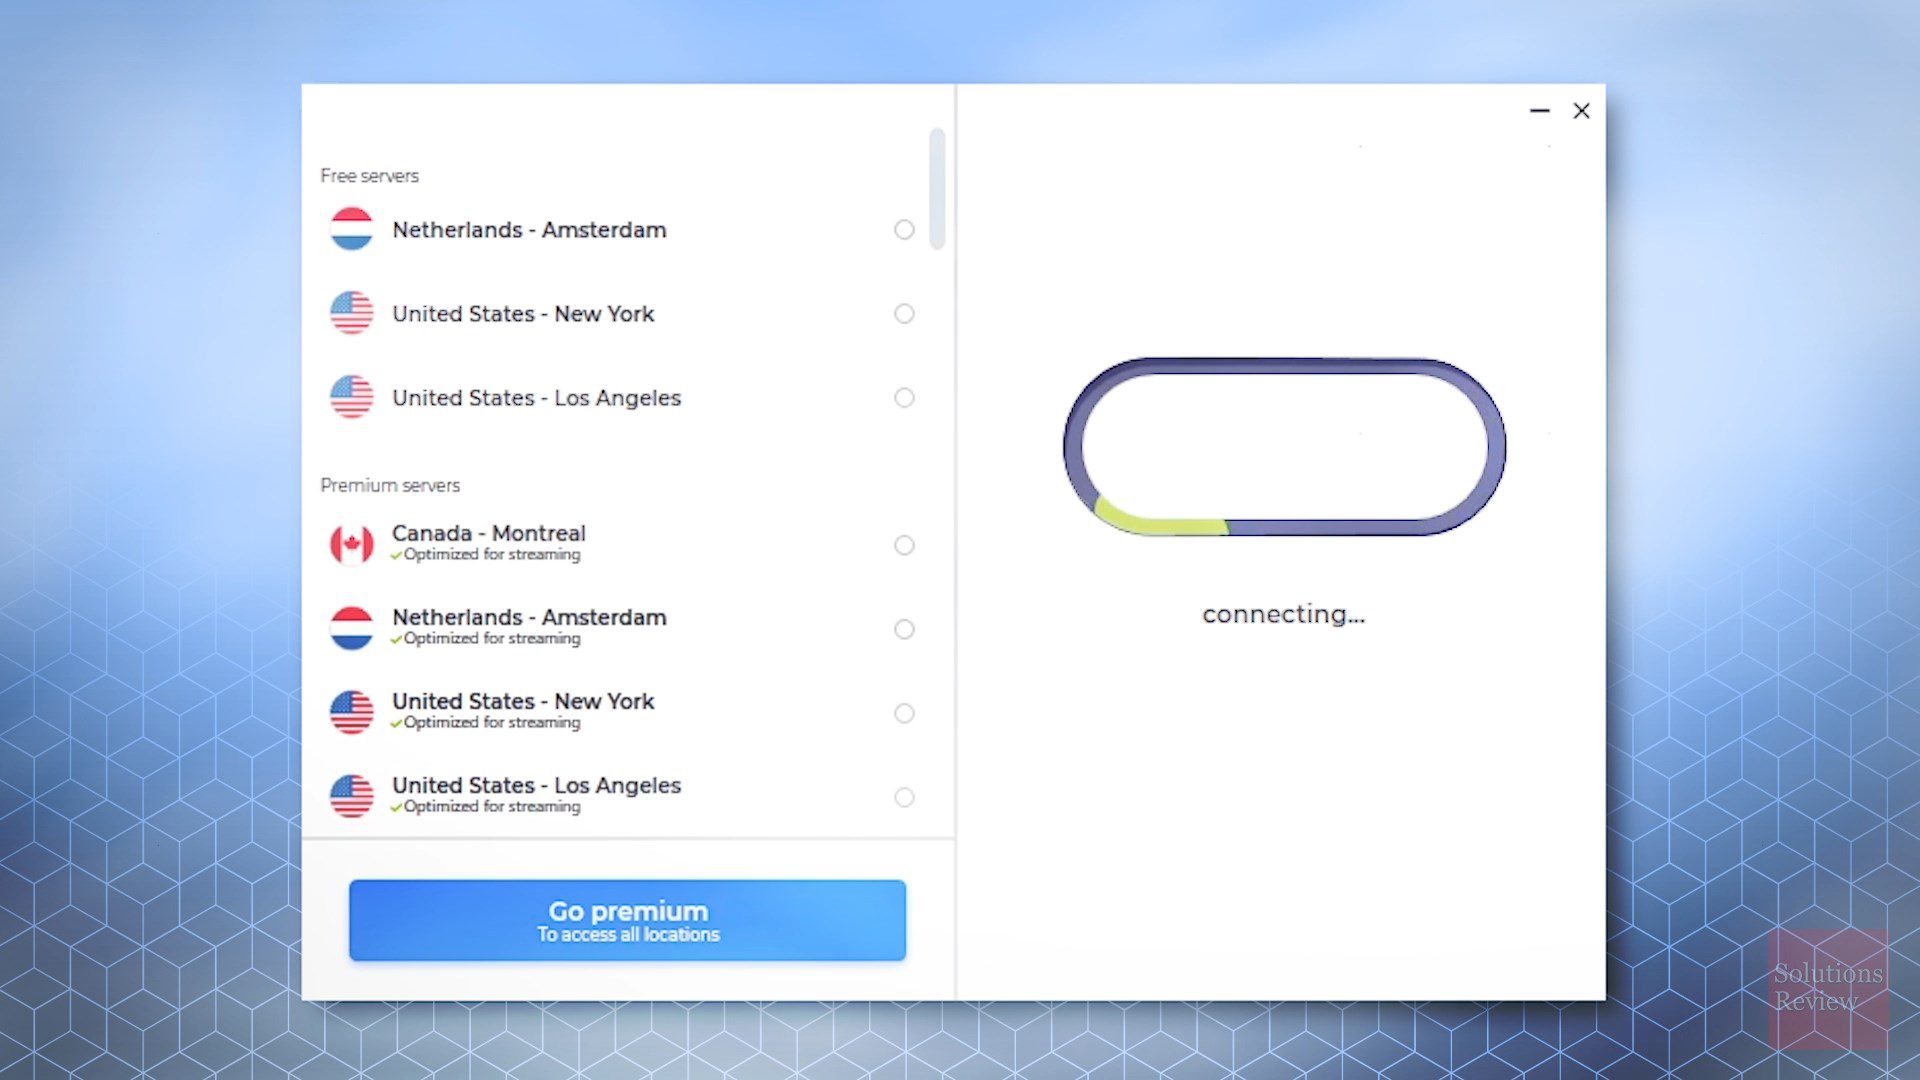
Once the installation process is complete, open the Atlas VPN application to log in and start the VPN software. The software will prompt you to enter your username and password via the “Go Premium” button — use the same information you provided earlier when creating an account.
Step 5: Start Browsing Securely with Atlas VPN
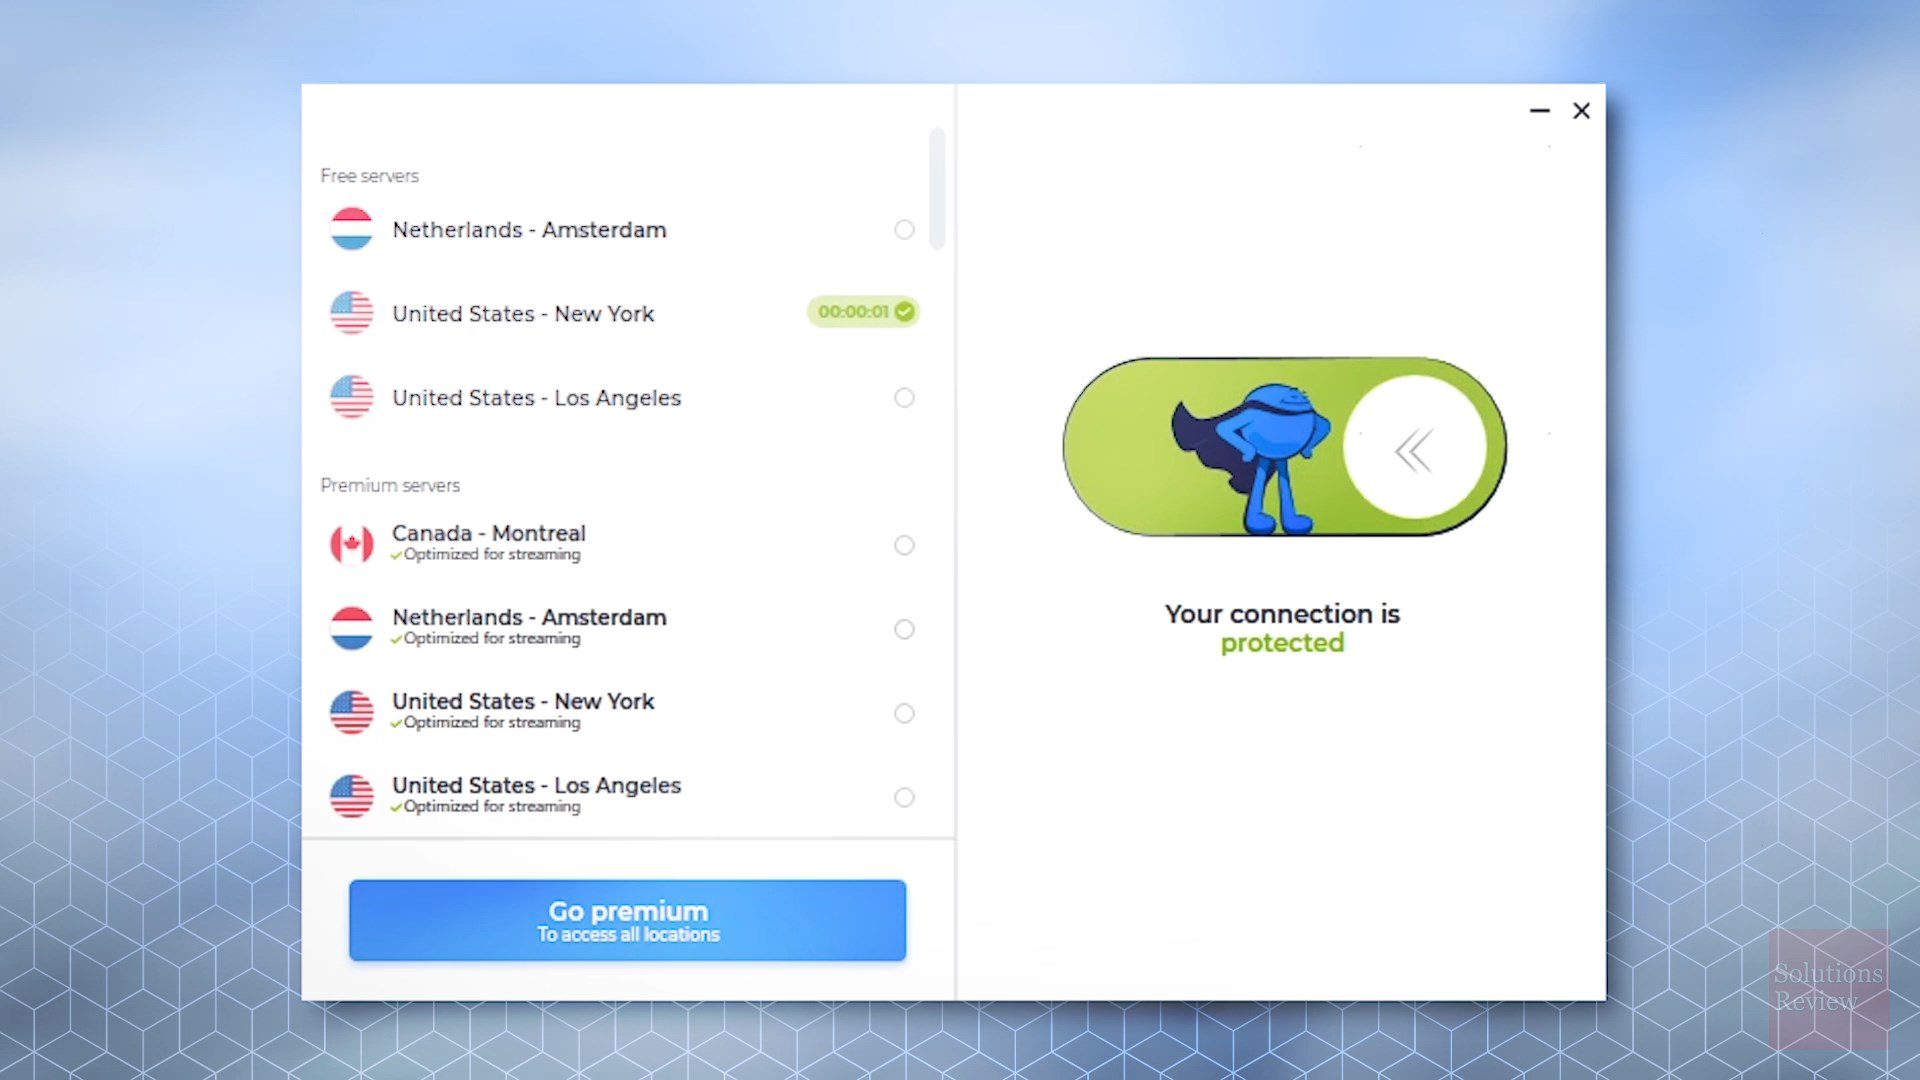
After logging into the program, click the connect button to activate the service. Once the software connects to one of Atlas VPN’s virtual private network servers, the power button will turn green and the text “Your connection is protected” will be displayed at the top. You’re now all set to browse the web securely and privately!
Once you’re connected and configured, Atlas VPN’s state-of-the-art, tier-1 multi-gigabit private network will provide online security, protect your identity, allow anonymity, stop eavesdroppers, unblock websites, and grant uncensored access to the internet.

Why Choose Atlas VPN?
There are many different VPN providers on the market, each delivering its own set of advantages and benefits over other solutions. Some of the benefits of using Atlas VPN include:
- SafeSwap servers. Atlas offers SafeSwap servers that let users access the Internet from several different IP addresses at once, boosting their anonymity even further. SafeSwap servers rotate out your IP address from a pool of pre-selected addresses. This makes it more difficult for snoopers, authorities, and Internet service providers to track your location.
- Tracker Blocker. Third-party trackers follow your every move online to collect data about you and bombard you with online ads — or worse, malware. Atlas VPN’s Tracker Blocker system prevent data brokers from using trackers on you while you’re connected to the Internet, giving you a safer, more secure, and less irritating online experience.
- Data breach monitoring. The Atlas VPN Data Breach Monitor protects and encrypts your Internet traffic so that hackers and snoopers can’t see what you are doing online. It can track any data breaches related to your online accounts. You can protect your email addresses, usernames, passwords, social security numbers, and any other types of personal information.
For more info on what the VPN solution can deliver, consult our video guide below.
Click here to sign up for and login to Atlas VPN with an exclusive offer.